Welcome to this tantalising guide to the world of grating chocolate and creating chocolate shavings.
These are techniques that turn ordinary blocks of chocolate into something visually stunning and texturally delightful, adding a touch of elegance to a plethora of desserts and beverages.
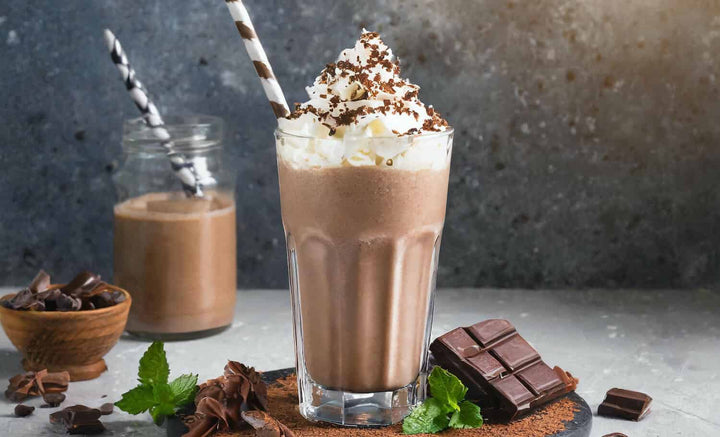
Whether you're garnishing a freshly whipped cream-topped hot chocolate with a dusting of finely grated chocolate or adorning a homemade cake with luxurious chocolate curls, these simple methods can elevate your culinary creations to a whole new level.
In this post, we'll guide you through the processes, share some tips and tricks for getting the best results, and inspire you with ideas for how to use your beautifully grated chocolate and chocolate shavings.
So, prepare to roll up your sleeves and let's get started on our chocolatier's journey!
How To Grate Chocolate
Grating chocolate is a simple process that requires a few basic kitchen tools and your chocolate of choice.
Here's a step-by-step guide:
-
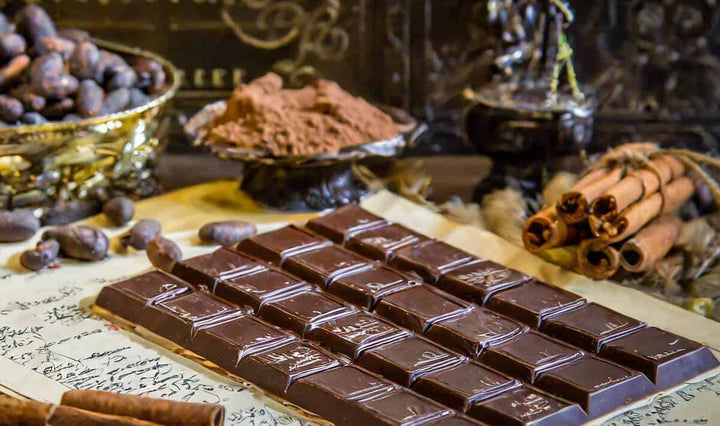
Choose the Right Chocolate: A good-quality block of chocolate is the best option for grating. Dark, milk, or white chocolate can all be used, depending on the flavour you want. The chocolate should be solid and not too soft.
-
Prepare the Chocolate: If the chocolate is too soft, it can be difficult to grate. Placing the chocolate in the fridge for about 20-30 minutes before grating can help to firm it up.
-
Select the Right Tool: A box grater is a good choice for grating chocolate. The side with the smallest holes will yield finely grated chocolate perfect for dusting desserts, while the side with larger holes will give you more substantial pieces suitable for melting.
-
Grate the Chocolate: Hold the grater in one hand (use a towel to steady it if necessary) and the chocolate in the other. Apply a firm, steady pressure and move the chocolate down the grater. Be careful of your fingers as you get close to the end of the piece of chocolate.
-
Store or Use Immediately: Grated chocolate can start to melt quickly, especially if you're working in a warm kitchen, so it's best to use it right away. If you're not using it immediately, transfer the grated chocolate to a cool place or the fridge to prevent it from melting.
Remember, practice makes perfect.
The more you grate chocolate, the better you'll get at achieving the texture and size you want.
(Take a look at this post for some ideas for: What To Do With Leftover Melted Chocolate?)
How to Make Chocolate Shavings
Creating chocolate shavings is a wonderful way to bring an elegant touch to your desserts.
The process requires some patience and practice, but the results are well worth the effort.
Here's a step-by-step guide:
-
Choose Your Chocolate: Use a high-quality chocolate bar for the best results. You can choose dark, milk, or white chocolate, depending on your preference.
-
Temper the Chocolate: If the chocolate is too hard, you won't be able to make shavings. If it's too soft, it will likely melt in your hands. You want the chocolate to be just soft enough to curl without breaking. You can achieve this by leaving it at room temperature or, if it's a hot day, placing it in the fridge for a few minutes.
-
Prepare Your Tool: A vegetable peeler or a cheese slicer can be used to make the shavings. Make sure the tool is clean and dry.
-
Create the Shavings: Hold the chocolate in one hand and your tool in the other. Apply firm, even pressure and slowly drag the peeler or slicer across the edge of the chocolate. This should create a curl or shaving of chocolate.
-
Handle with Care: Chocolate shavings can be quite delicate, so handle them with care. Use a toothpick or the tip of a knife to transfer them if necessary.
-
Store or Use Immediately: Just like grated chocolate, shavings can melt quickly. If you're not using them right away, store them in a cool place or the fridge.
Remember, creating beautiful chocolate shavings can take a bit of practice.
But once you get the hang of it, you'll be able to elevate your desserts to a whole new level of sophistication.
Related Post: Difference Between Cooking Chocolate And Normal Chocolate?
What is the Best Type of Chocolate to Grate to Make Shavings?
Choosing the best type of chocolate for grating to make shavings largely comes down to personal preference and the specific flavour profile you want to achieve in your dish.
However, there are some general guidelines that can help you make the right choice:
-
Quality Matters: Opt for high-quality chocolate for the best results. Superior chocolates have a smoother texture and richer flavour that will make your shavings taste better and look more attractive.
-
Dark Chocolate: This is often a good choice for shavings, as its relatively high cocoa content gives it a firm texture that's easier to shave. Plus, it has a rich, intense flavour that can provide a nice contrast to sweeter desserts.
-
Milk Chocolate: If you prefer a sweeter, creamier flavour, then milk chocolate could be the one for you. Just bear in mind that it's softer than dark chocolate, so it can be a bit trickier to shave.
-
White Chocolate: Although it's the softest of the three and can be quite challenging to shave, white chocolate can offer a delightful, sweet, creamy flavour and a striking visual contrast, particularly when used on dark desserts.
Remember, whichever type of chocolate you choose, ensure it's solid and not too soft. You might need to chill it briefly before you start grating to achieve the best results.
As always, don't be afraid to experiment until you find the chocolate that works best for you!
Related: How to Make Chocolate Shards.
Can You Grate Chocolate with a Food Processor?
Yes, you can indeed grate chocolate using a food processor, although the resulting texture might not be as fine as when using a traditional hand grater.
To do so, you'll want to use the grating attachment (typically a disc-shaped piece with grating holes).
Break or chop your chocolate into small chunks that will fit through the feeding tube of your food processor.
Then, with the machine running, feed the chocolate chunks into the tube, using the pusher to safely press the chocolate down onto the grating disc.
Bear in mind, though, that the friction caused by the processor can generate heat, potentially causing your chocolate to melt slightly during the process.
This can be mitigated by chilling your chocolate beforehand and not over-processing it.
For the most control over the texture and size of your chocolate shavings or grated chocolate, a manual grater or a vegetable peeler might be your best bet.
However, if you're grating a large quantity of chocolate, the food processor method can certainly save you time and effort.
What is the Difference Between Grating and Shaving Chocolate?
Grating and shaving chocolate are two different methods used to prepare chocolate for a variety of culinary applications, and while they might sound similar, the results they produce are quite distinct.
Grating Chocolate: This process creates small, fine pieces of chocolate that resemble powder or coarse sand.
A grater – often a box grater or microplane – is used, and the chocolate is rubbed against the grater's sharp holes to create the tiny pieces.
Grated chocolate is ideal for dusting over desserts or drinks for a decorative effect or for melting quickly due to its small size.
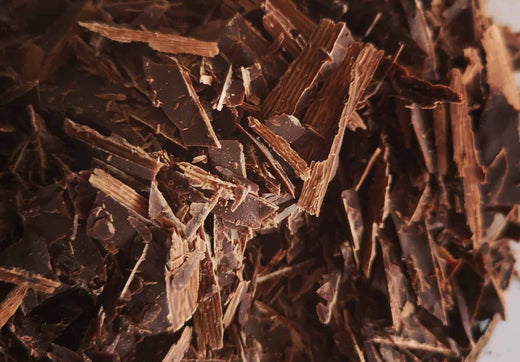
Shaving Chocolate: Chocolate shavings, on the other hand, are larger, more substantial pieces that are often curled or waved.
Shavings are typically made using a vegetable peeler or a similar tool, carefully dragged across the surface of a block of chocolate.
The result is thin, delicate curls or shards of chocolate that add a sophisticated garnish to cakes, pastries, or other desserts.
So in essence, the difference between grating and shaving chocolate lies in the size and form of the chocolate pieces each method produces, as well as the visual and textural effect they bring to the dishes they're used in.
Some Notes From an Expert
As an expert in the world of chocolate, I can offer you some insights from my experience.
When it comes to grating or shaving chocolate, using a high-quality chocolate bar will always yield the best results.
Look for chocolate with a good cocoa content, as it will have a rich, intense flavour.
Dark chocolate with at least 55% cocoa is often a popular choice due to its firmness and robust taste.
For grating chocolate, I highly recommend using a box grater with the side that has the finest holes.
This will create finely grated chocolate that can be easily sprinkled over desserts or incorporated into recipes.
If you desire larger shavings, a vegetable peeler or cheese slicer can work wonders.
Just make sure the chocolate is firm enough to handle without melting too quickly.
Another tip I've learned over the years is to chill the chocolate before grating or shaving.
This helps the chocolate hold its shape better and prevents it from melting too easily during the process.
A brief stint in the fridge can make a noticeable difference.
Lastly, be patient and take your time.
Grating and shaving chocolate can be a delicate process.
Apply gentle pressure and let the tool do the work.
With practice, you'll develop a feel for the right amount of pressure and achieve beautifully grated or shaved chocolate.
Remember, chocolate is a versatile ingredient that allows for creativity and experimentation.
Don't be afraid to try different types of chocolate, tools, or techniques to find what works best for you and your culinary creations.
Final Notes On How To Grate Chocolate
Grating chocolate allows you to transform a simple block of chocolate into a versatile ingredient, perfect for dusting, melting, and enhancing the visual appeal of our culinary creations.
Whether you choose to use a box grater, a microplane, or even a vegetable peeler, the key to successful grating lies in choosing high-quality chocolate and ensuring it is at the right temperature for optimal results.
Experimenting with different types of chocolate, such as dark, milk, or white, can open up a world of flavour possibilities.
Remember to handle grated chocolate with care, as it can melt easily. Use it immediately or store it in a cool place until needed.
And don't hesitate to let your creativity shine by incorporating grated chocolate into cakes, cookies, hot beverages, or any other treat that could benefit from a touch of chocolatey goodness.
Whether you're a seasoned chocolatier or an adventurous home cook, grating chocolate is a skill worth mastering.
The finely grated chocolate can add a touch of elegance and depth to your dishes, impressing your guests and delighting your taste buds.
So, grab your grater, select your favourite chocolate, and let your culinary creations shine with the magic of grated chocolate.